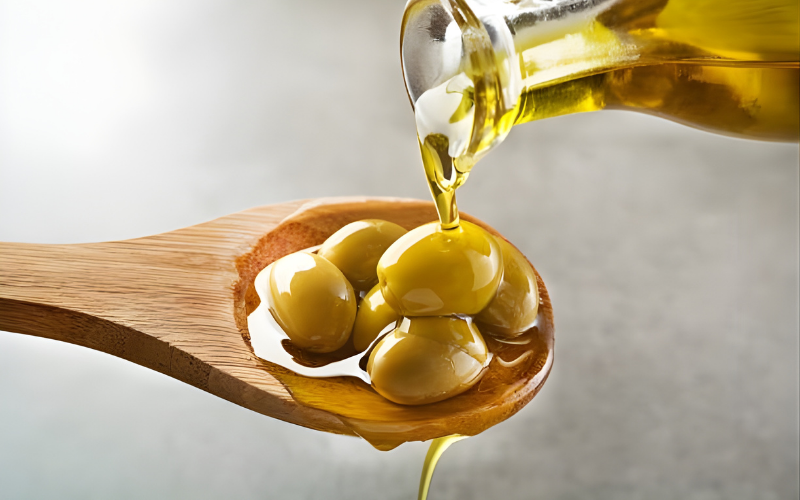
International Olive Council (IOC) guidelines highlight the key threats to olive oil quality, i.e. oxygen, light, and heat, each of which accelerates oxidation and rancidity. Proper storage must therefore minimise air contact, prevent light exposure, and maintain stable, cool temperatures.
Sansone’s engineering and material choices align perfectly with these requirements:
1. Oxygen Protection: Airtight Design & Minimised Headspace
The IOC highlights that once a container is opened, limiting headspace is essential to slow oxidation.
How Sansone supports this:
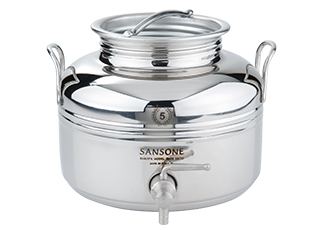
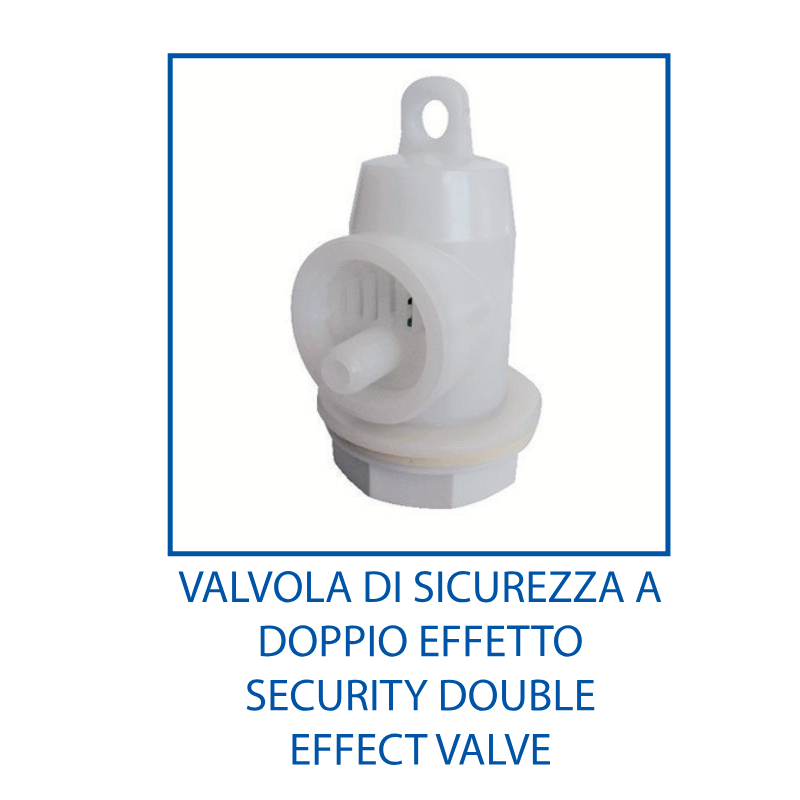
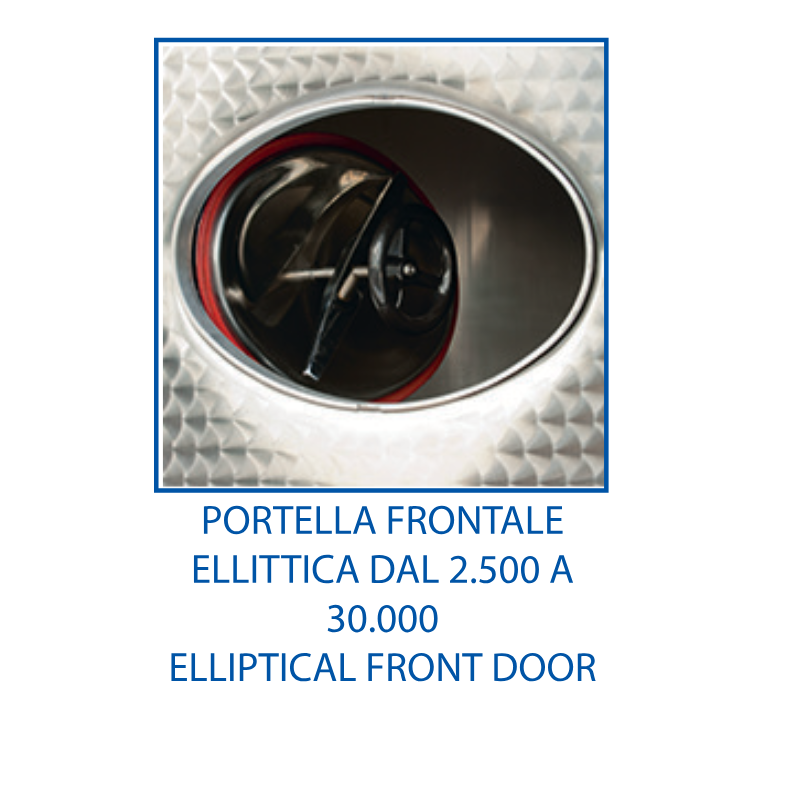
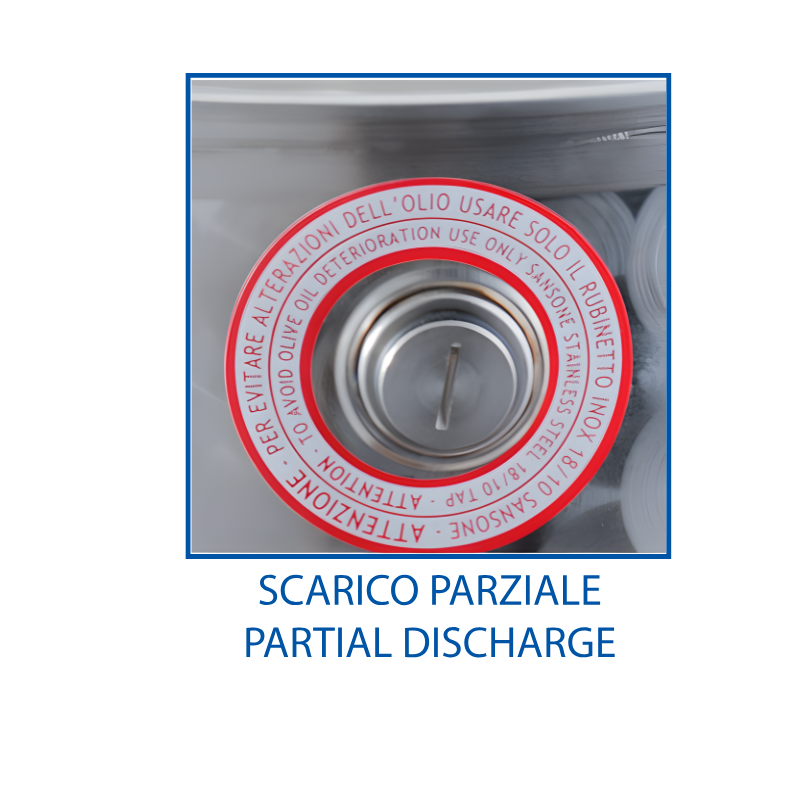
- Hermetic seals on lids, clips, and o-rings prevent oxygen ingress.
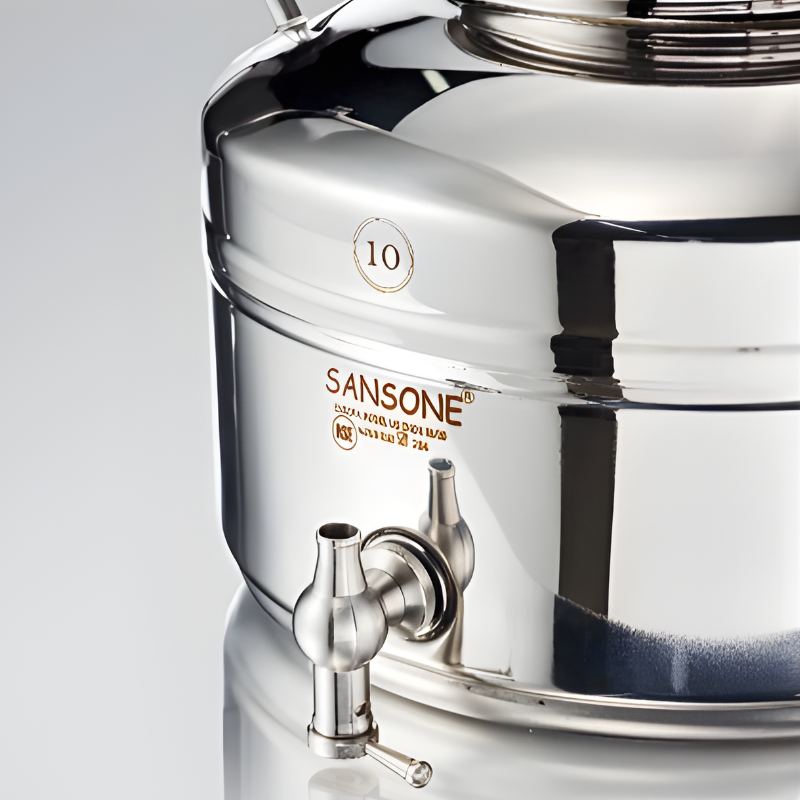
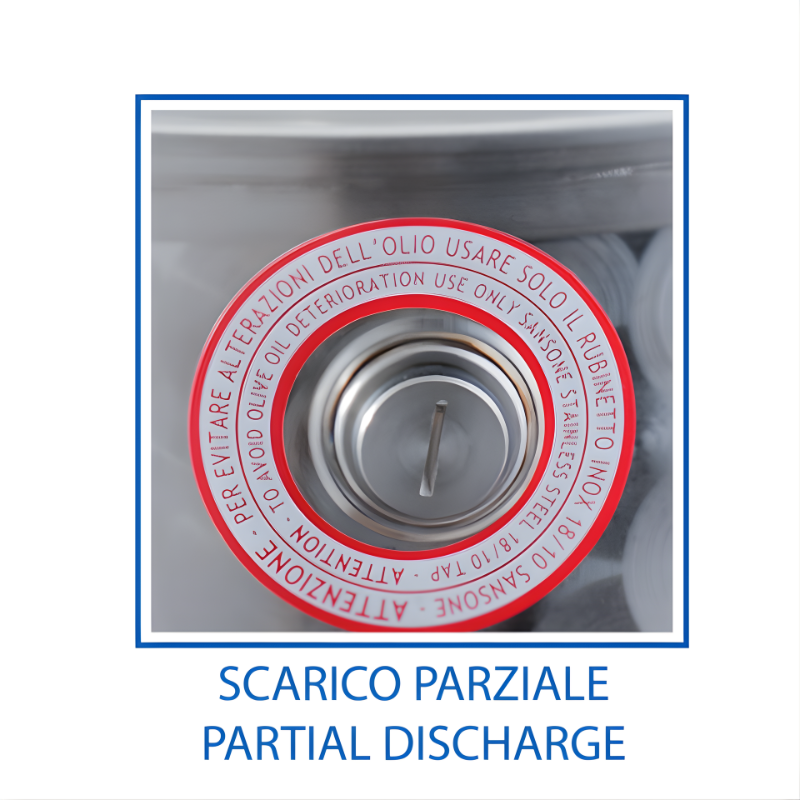
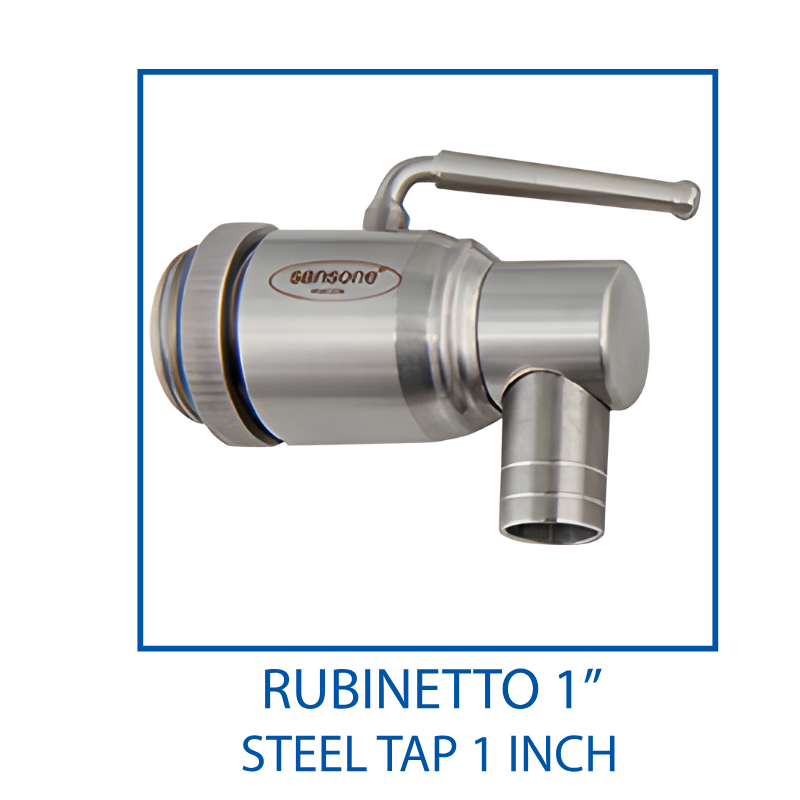
- Precision-machined threads on taps ensure no micro-air leaks.
- Many models come in incremental sizes, enabling producers and consumers to select volumes matching 1 - 3 months’ usage - the exact timeframe recommended by the IOC.
- Large containers allow for decanting into small stainless steel units, which the IOC recommends for preserving quality once larger cans are opened.
2. Light Protection: Stainless Steel as an Opaque Barrier
The IOC identifies light as the main threat to olive oil quality after oxygen.
Sansone’s advantage:
- Full stainless-steel construction completely blocks UV and visible light.
- Mirror-polished interiors resist residue buildup, ensuring no photoreactive particles remain on surfaces between batches.
3. Temperature Stability: Thermal Protection & Structural Integrity
The IOC recommends storing olive oil between 13 - 25°C, and notes that lower temperatures (even refrigeration) can slow oxidation.
Sansone excels in temperature resilience:
- High-grade AISI 304 (18/10) or AISI 316 steel (optional) maintains structural integrity regardless of ambient fluctuations.
- No warping, cracking, or polymer breakdown (common with plastic).
- Suitable for cold storage without material fatigue or risk of flavour contamination.
4. Hygiene & Safety: The Foundation of Sansone’s Philosophy
The IOC emphasises cleanliness, inert materials, and contamination avoidance.
Sansone tanks surpass these needs through:
- AISI 304 stainless steel for all food-contact surfaces; AISI 316 (optional) available where higher corrosion resistance is required (e.g., acidic ferments, saline solutions).
- Mirror-polished interiors prevent residue, microbial growth, or flavour carryover.
- Fully weld-sanitised or precision-seamed joins engineered for long-term purity.
- NSF-certified taps available on select models.
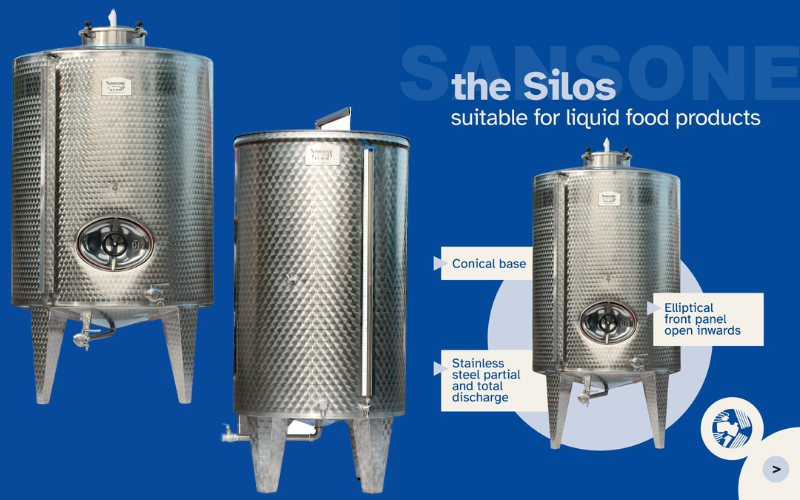
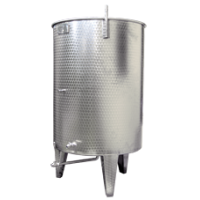
Whether storing EVOO, honey, wine, ferments, kombucha, tinctures, cosmetics, or nutraceutical extracts, Sansone containers guarantee an inert environment that preserves product integrity.
5. Durability & Long-Term Value: Sustainability Meets Performance
Stainless steel is durable, corrosion-resistant, and 100% recyclable - maintaining its quality through multiple recycling loops. Sansone’s robust construction means a single tank can last decades, dramatically reducing lifecycle costs compared with plastics or coated metals. Their longevity also prevents product loss due to leaks, contamination, or light-induced degradation, making Sansone an economically and environmentally superior investment for producers of all scales.
Comparison Chart: Plastic vs Stainless Steel vs Glass Containers
|
Criteria
|
Plastic Containers
|
Stainless Steel Containers (e.g. Sansone)
|
Glass Containers
|
|
Material Reactivity
|
It can leach plasticisers over time, especially with acidic or fatty products.
|
Completely inert; AISI 304/316 food-grade steel prevents reactions.
|
Inert to most liquids but may interact with extreme pH.
|
|
Light Protection
|
Allows light penetration unless opaque.
|
100% light-proof - ideal for olive oil and sensitive liquids.
|
Transparent unless tinted; light accelerates oxidation. Coloured glass can slow down light penetration.
|
|
Oxygen Protection / Seal Quality
|
Moderate; lids may warp or expand, increasing oxygen exposure.
|
Excellent - airtight seals and precision threads limit oxygen exposure.
|
Good initially, but seals vary; headspace increases quickly once opened.
|
|
Durability
|
Prone to warping, cracking, and UV degradation.
|
Extremely durable - decades of use without deforming.
|
Fragile; breaks or chips easily.
|
|
Temperature Resistance
|
Sensitive to heat; may warp or release BPA-like compounds/plasticisers.
|
Highly stable across temperature ranges, including refrigeration and warm environments.
|
Stable but expands/contracts; risk of thermal shock.
|
|
Hygiene & Cleanability
|
Scratches retain residues and microbes; absorbs odours.
|
Mirror-polished surfaces prevent buildup; no odour retention; easy sanitation.
|
Very hygienic but difficult to clean if narrow-necked.
|
|
Impact on Olive Oil Quality
|
Can accelerate oxidation; not recommended by IOC for long-term storage.
|
Ideal - protects from light, heat, and oxygen; aligned with IOC guidelines.
|
Good if dark/tinted and stored cool, but still sensitive to light exposure.
|
|
Sustainability
|
Limited recyclability; degrades in quality each cycle.
|
100% recyclable without quality loss; extremely long lifespan.
|
Highly recyclable but higher breakage rate.
|
|
Weight
|
Lightweight.
|
Moderately heavy (depending on tank size).
|
Heavy and cumbersome, especially in larger volumes.
|
|
Cost (Upfront)
|
Low
|
Higher initial investment
|
Moderate cost
|
|
Cost (Lifecycle)
|
High - due to frequent replacement and product spoilage risk.
|
Low - one tank often lasts decades; prevents losses from contamination or oxidation.
|
Moderate - replacement due to breakage or seal failure.
|
|
Suitability for Industrial Use
|
Poor - short lifespan and limited hygienic control.
|
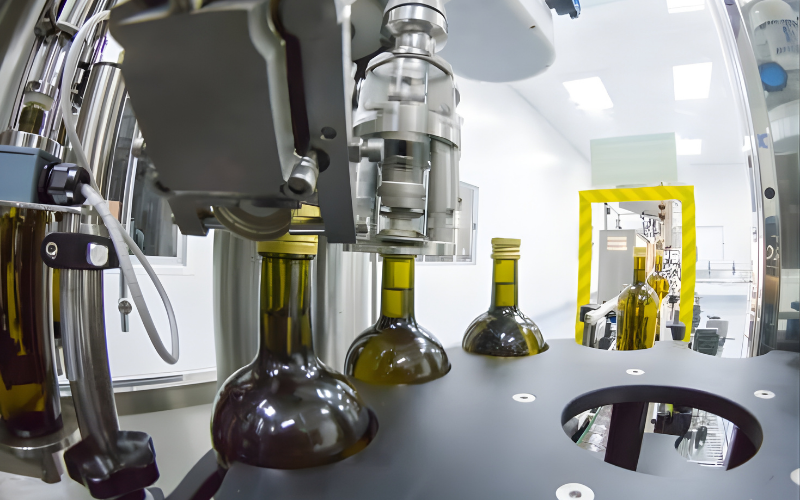
Excellent - used in olive oil production, wineries, pharmaceuticals, honey, and beverage industries.
|
Limited - weight and fragility restrict large-volume use.
|
|
Suitability for Long-Term Food Storage
|
Not recommended.
|
Excellent - best long-term solution for oils, ferments, beverages, and extracts.
|
Acceptable for short-to-medium term if protected from light.
|
Table. Comparison of Plastic, Stainless Steel, and Glass Containers for long-term storage of food and liquids.
6. Functional Design That Enhances Workflow
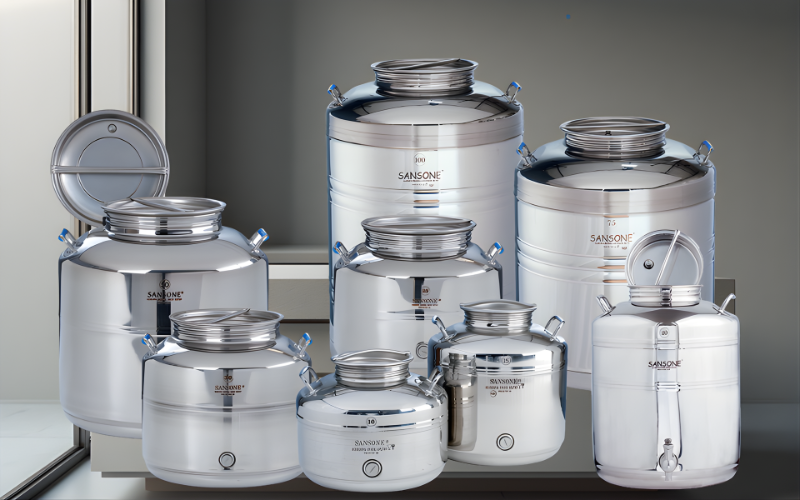
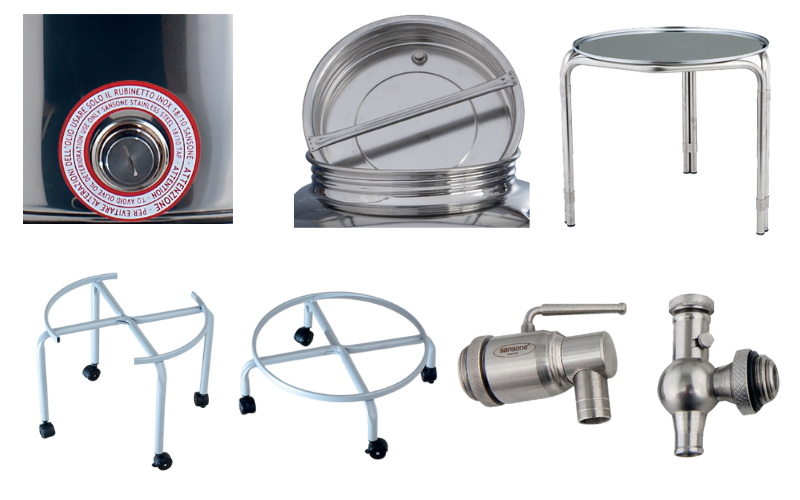
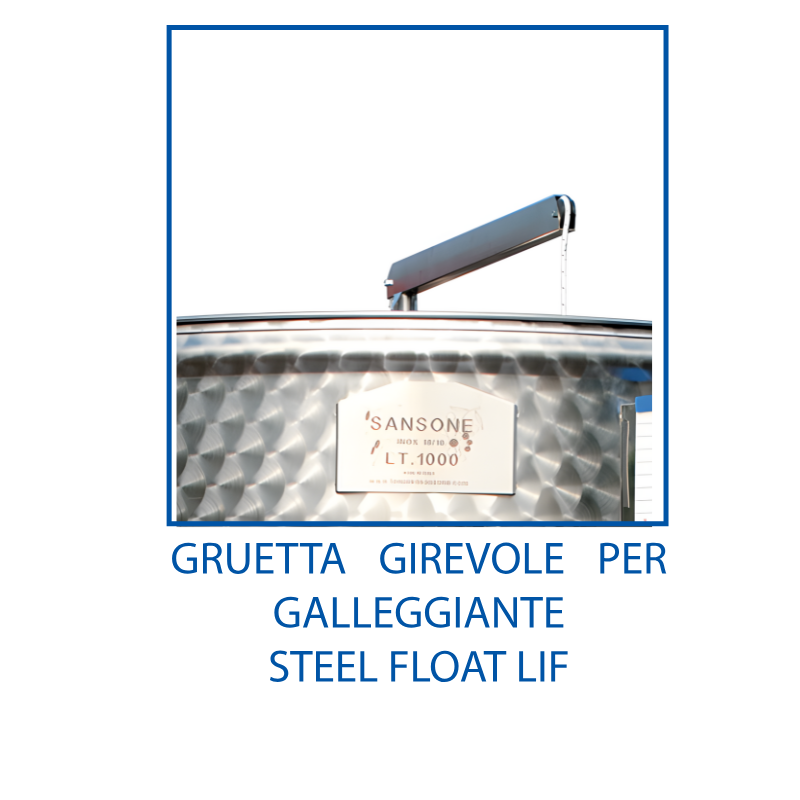
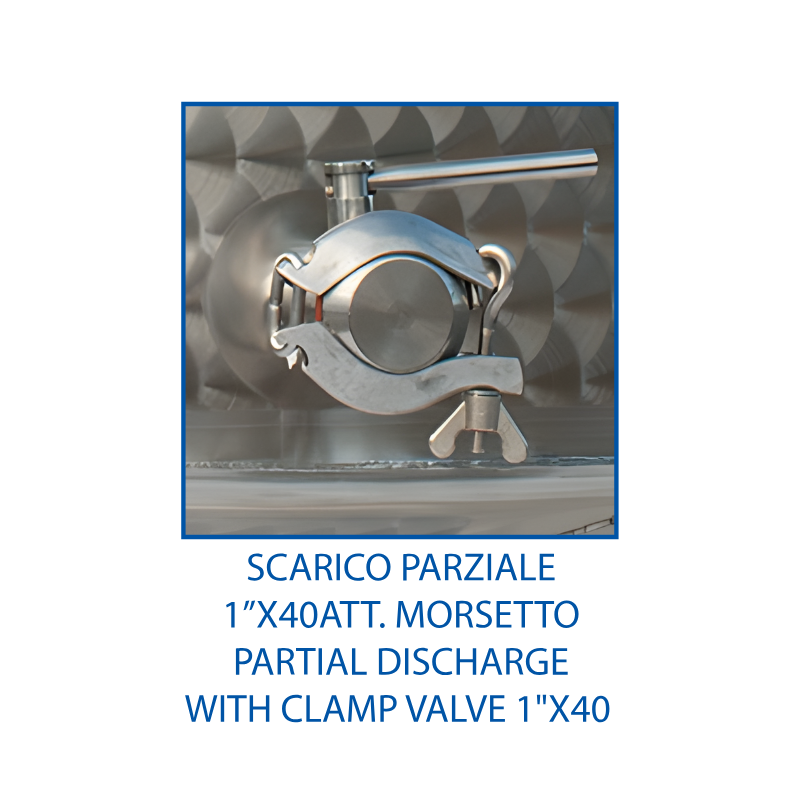
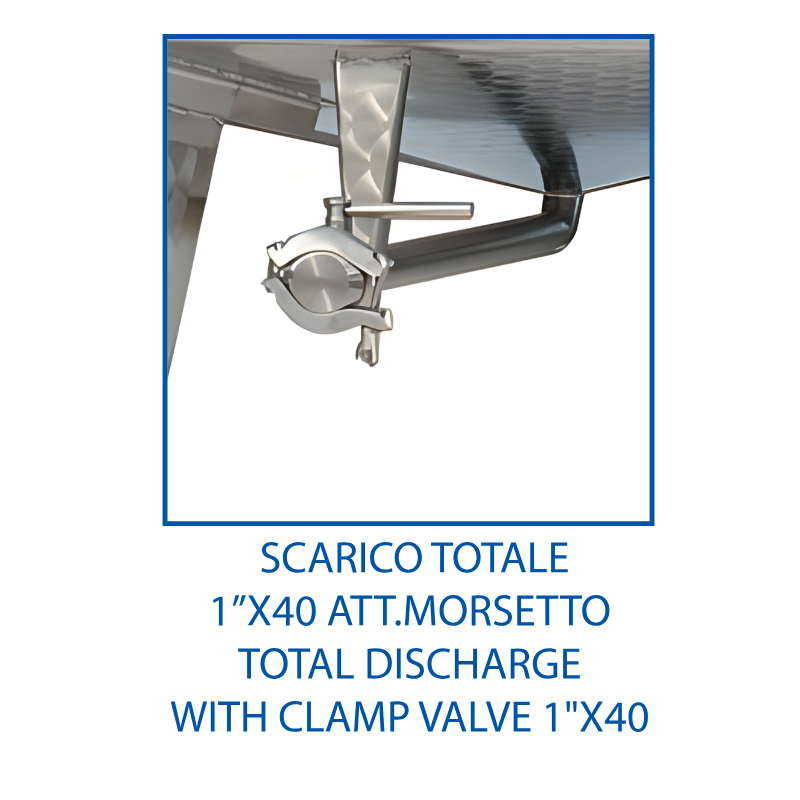
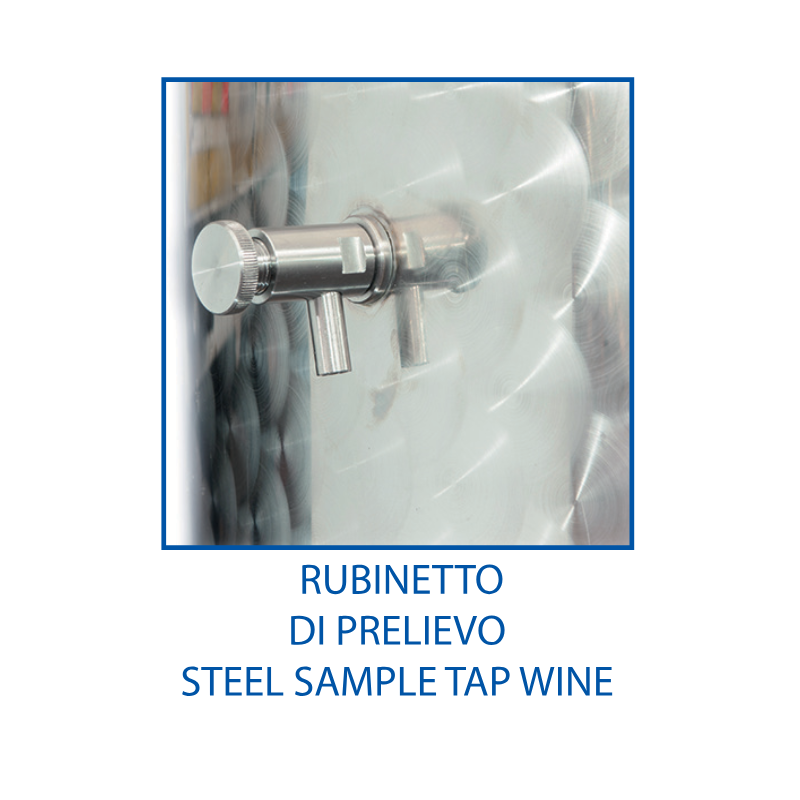
Across the entire Sansone range - from 3 L benchtop units to 10,000 L industrial vats - each model is tailored for real-world handling:
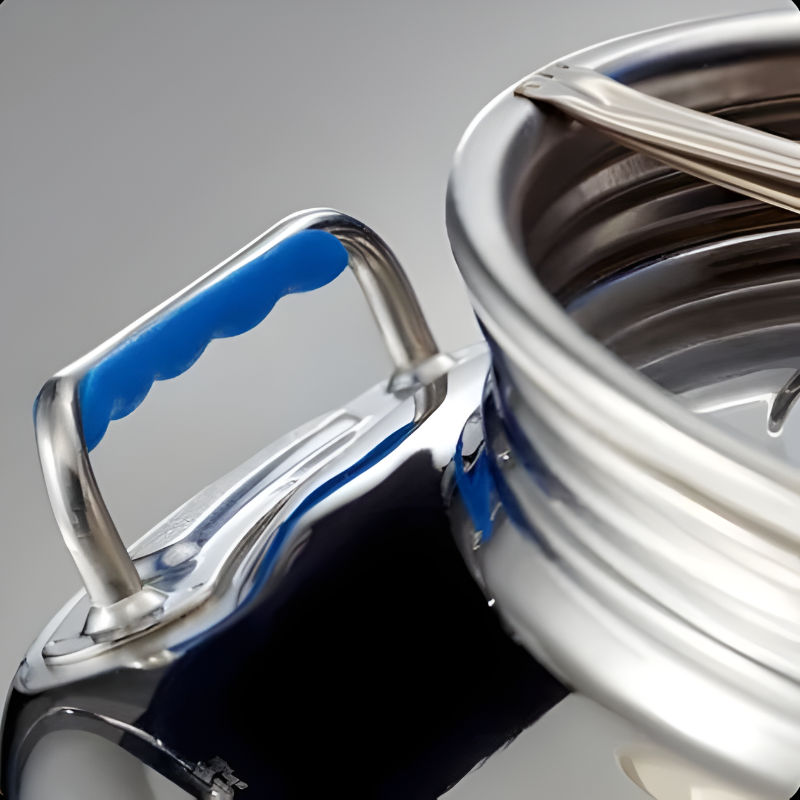
- Ergonomic welded handles positioned for safe lifting.
- Optional wheeled frames for mobile production setups.
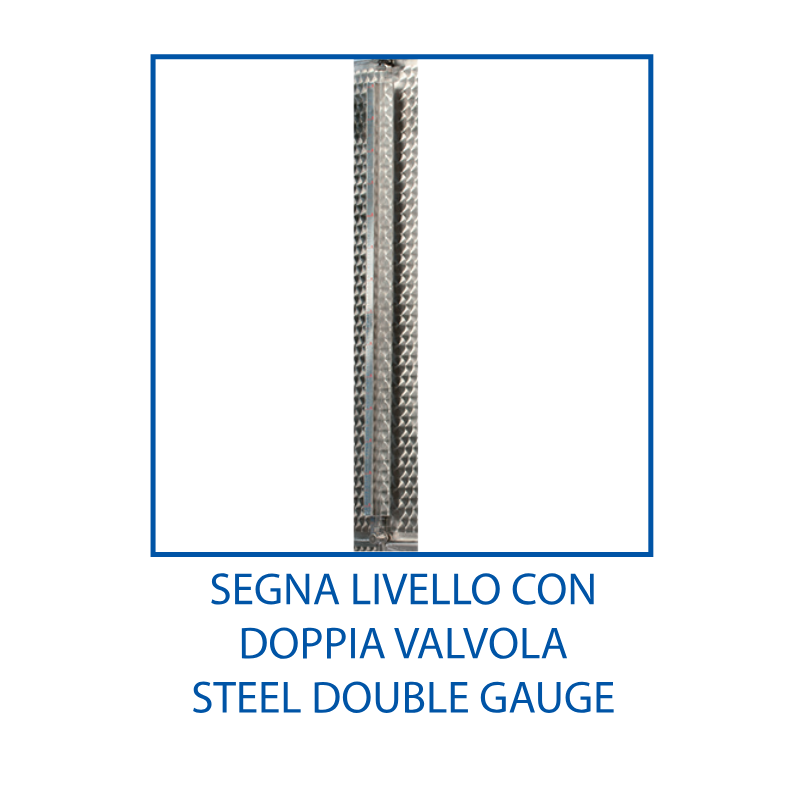
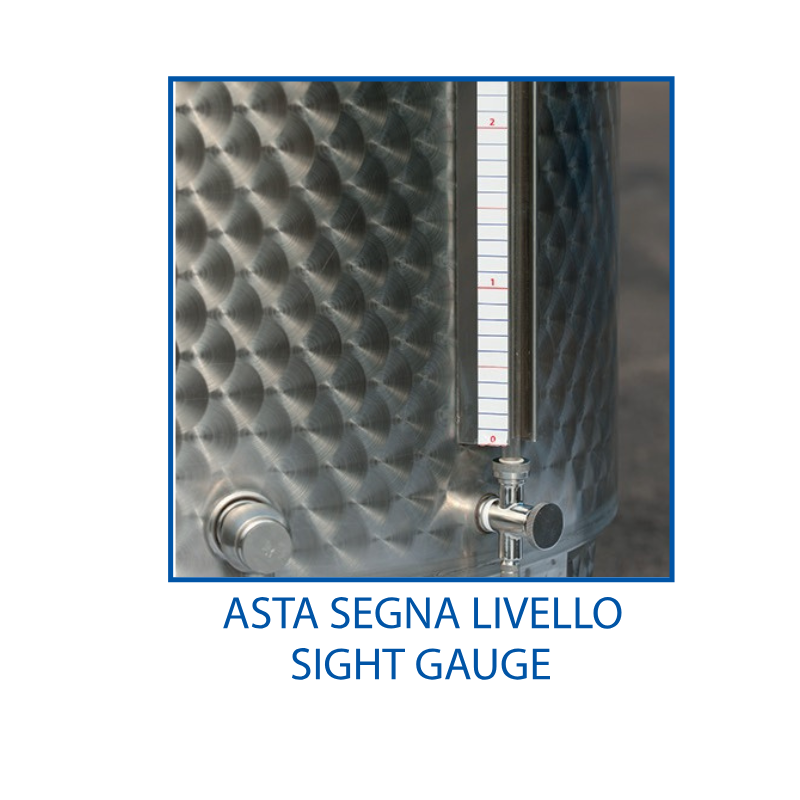
- Sight-glass compatibility for measuring levels without opening the tank.
- Clip-on lids for quick access in high-turnover operations.
- Reinforced bottoms for stacking stability and secure placement.
- Wide openings for easy filling and cleaning.
These design elements reduce labour time, improve occupational safety, and streamline production lines.